
Under $20 Meals - Tomato Risotto
This is the first of my under $20 meals to feed you or your family! This is a really simple tomato risotto - it's delicious and super easy to make,...

This is the first of my under $20 meals to feed you or your family! This is a really simple tomato risotto - it's delicious and super easy to make,...

This Easy Chicken and Mushroom Pie is my new favourite! So quick, simple and healthy but super delicious. It's a cheap dinner idea and great way to use up leftover...

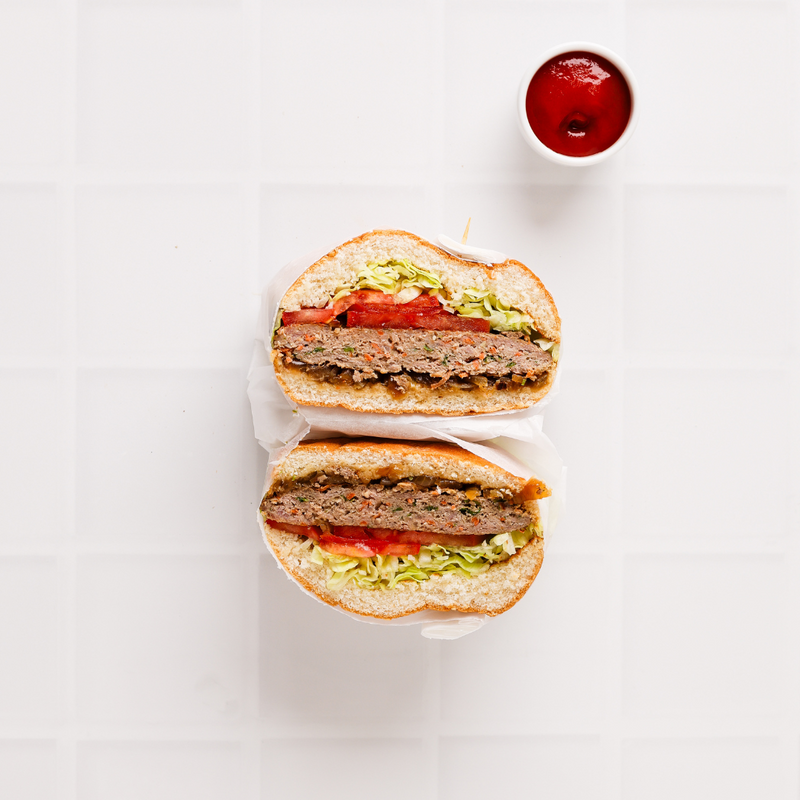
BBQ COMING UP? These are my number one, super quick Mediterranean beef skewers I absolutely love to make! They're super quick to make, and perfect for a family! I use...

Greek Easter is coming...and this year we're doing it at yiayia and papou, and I'm SO EXCITED, we haven't had a big cook up there in years and It's going...

Yiayia's Meatballs are an all time favourite of mine, a recipe packed with flavour that is surprisingly super easy to make. Perfectly paired with some freshly cooked veggies and some rice....

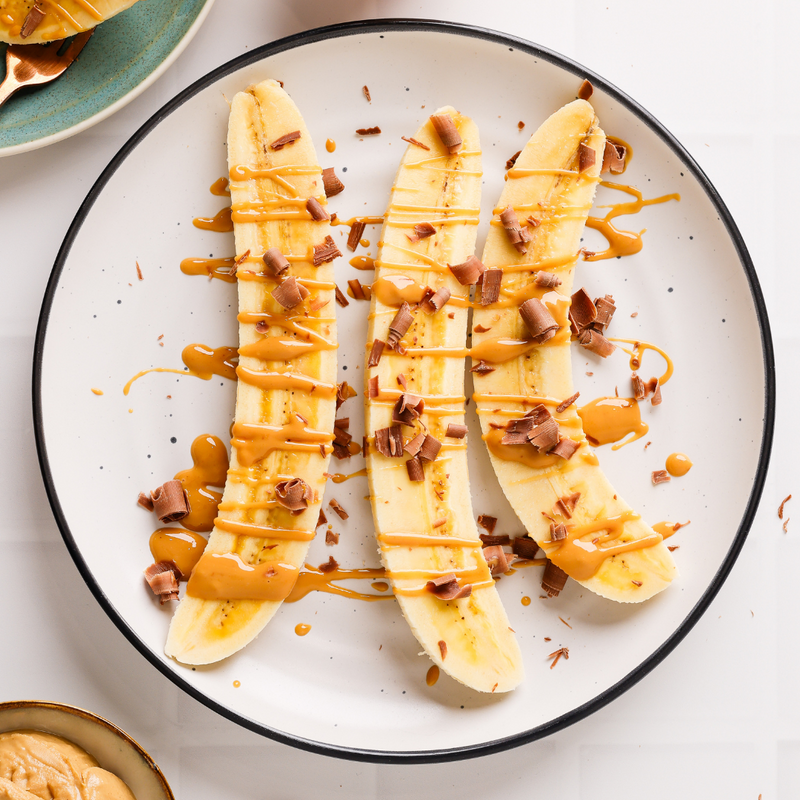
Are you ready for the choc protein bread of your dreams? This is seriously delicious and I promise you, worth the mess in the kitchen! Choc Banana bread Serves: 8 Cook time:...