Posted by Leah Itsines
on March 05, 2018

So you're looking at improving your food photography hey.. well you've come to the right place. I'll be covering my tips, tricks and guides to how I photography food. Now, to make sure I get things straight before all the profesh photographers don’t yell at me…I’m no expert! These are just the tips and tricks that I have learnt over the past couple of years
Lighting!
Food photography calls for Natural light. Around your home, find a window or door that brings natural light in – you don’t need to be confined to your kitchen! Find a place that brings in good, steady light and test with a plate of food. You'll know you have good lighting when there is...
Make sure to have all room lights turned off when you’re shooting as they may give you a yellow tinge. If you don’t have windows, try outside! Outside can be great, but you don’t want to be going directly into the sun, this will warp the food colour.
If you're struggling to find natural light and need an alternative, there is an artificial light source called a Ring light (They’re around $120- $180 on EBay depending on the brand) that can be a great help in a dark room – but again…I’d always prefer natural light as the colours of the food will be deep and fresh.
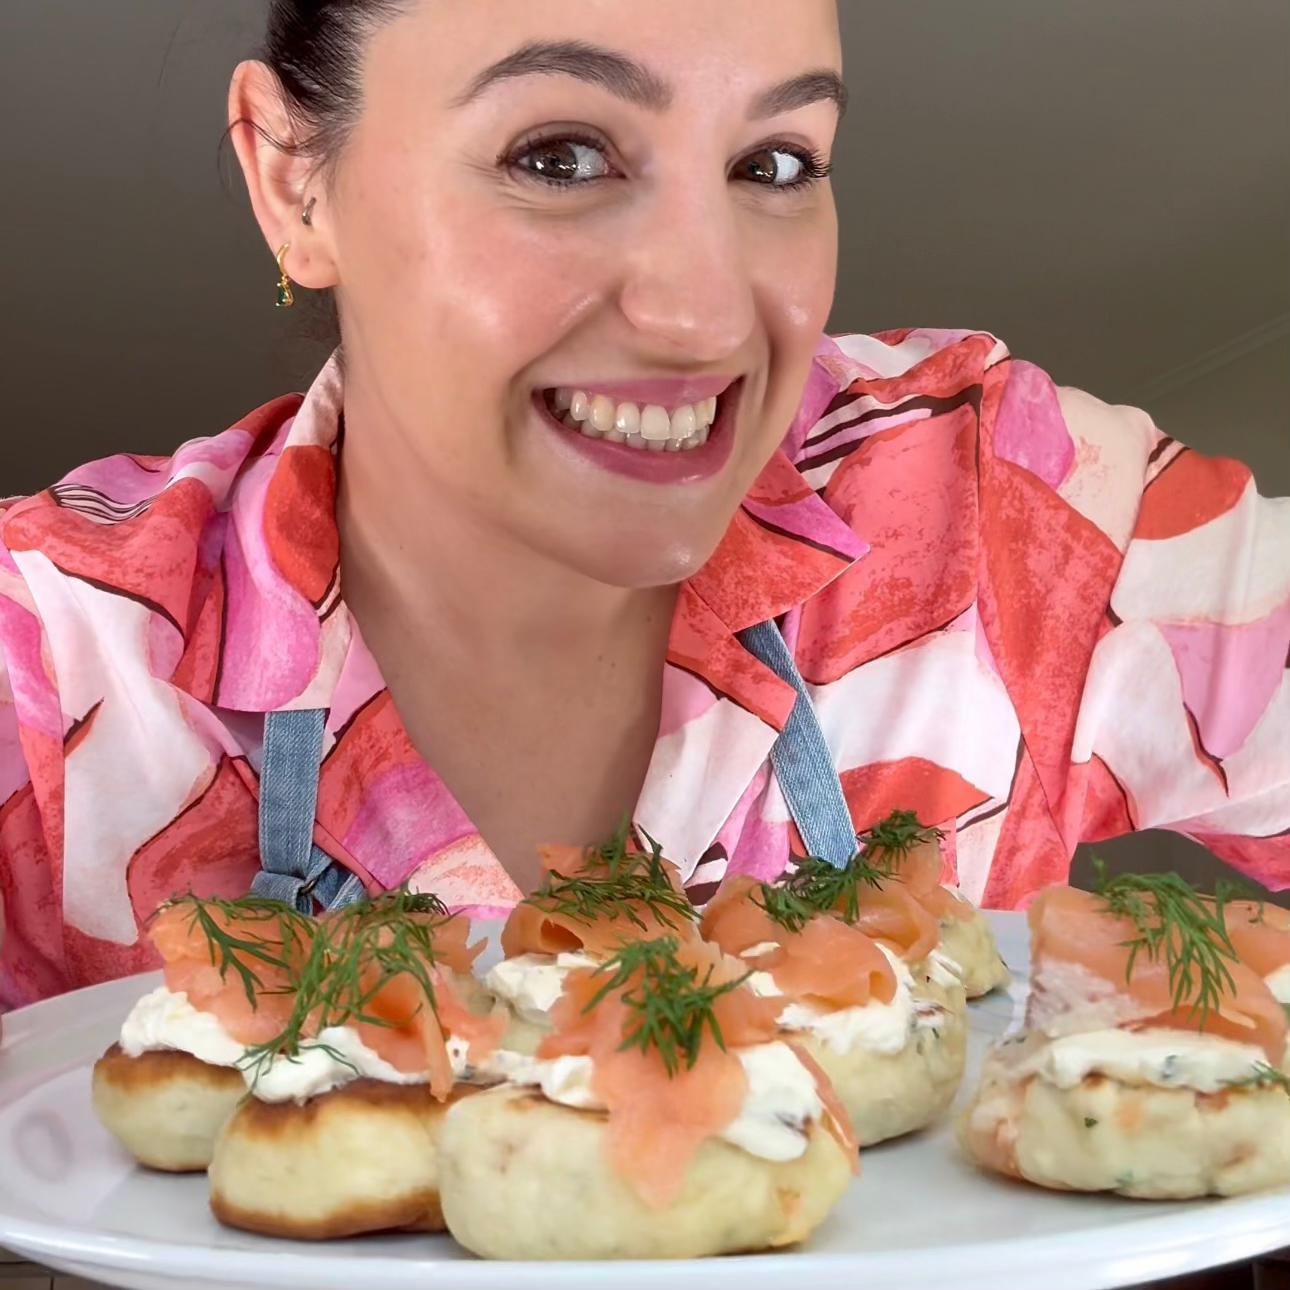
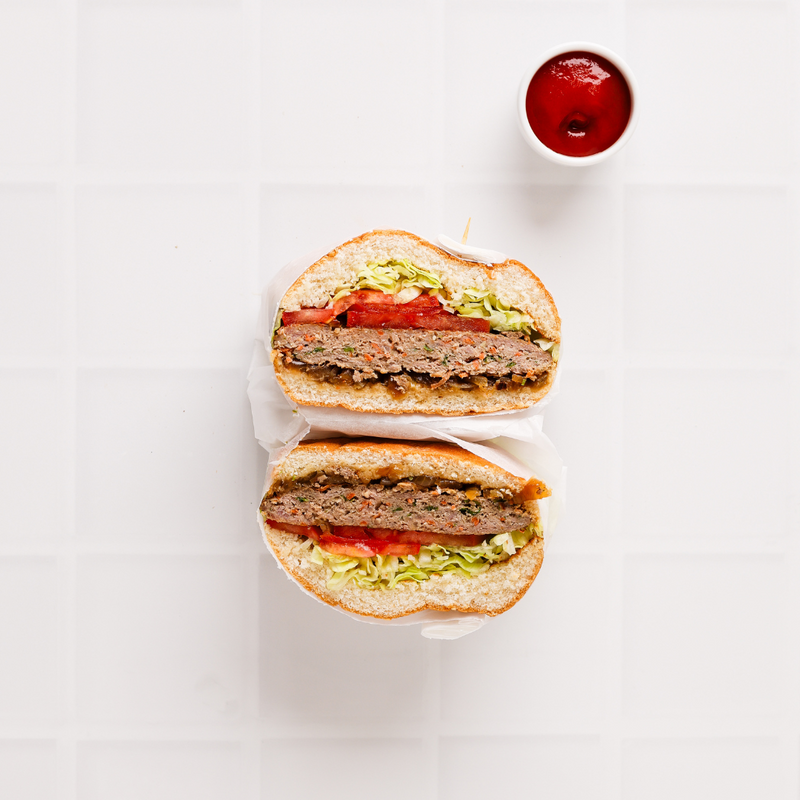
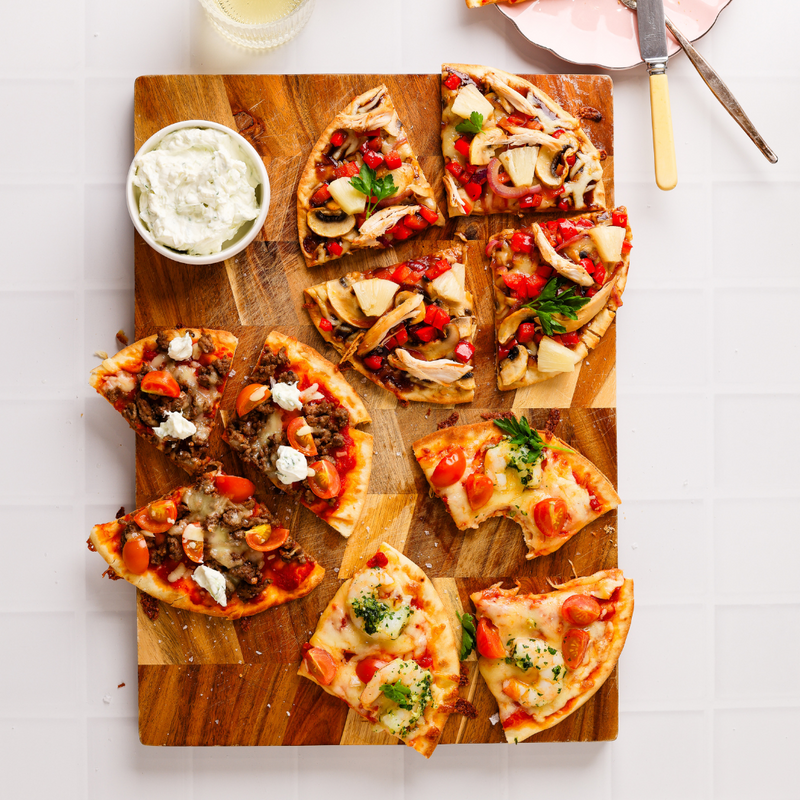
Food styling
When it comes to food styling…here is an example of how my photography skills have transformed over the past few months with a “before and after” photo.


Here's how I transformed my photography skills:
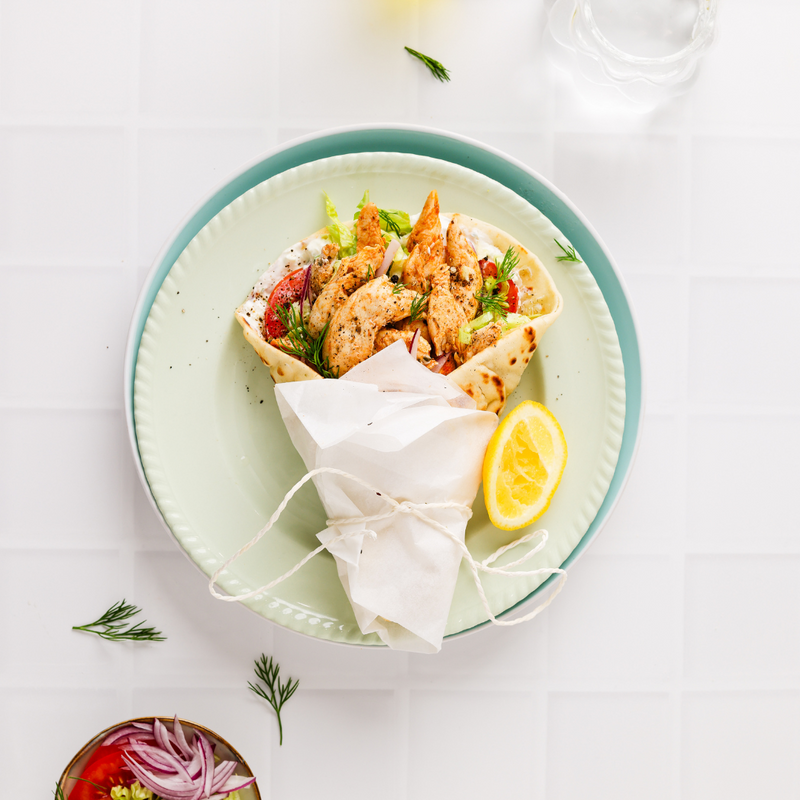
Backgrounds: The photo on the right is shot on a homemade blue board, with lighting coming through a window on the left side and edited on a program that can change the colour (cool hey!). The photo on the left is directly in the sun, outside, no props and edited over on instagram.
If you want to make your own backgrounds, buy a couple pieces of plywood (super lightweight) and mix your chosen colour with some flour and get painting! This will give it the rough texture that comes out in photos. If you want to buy some backgrounds – my "go too" place is Svpply co! They have a huge range of backdrops, one for everything!
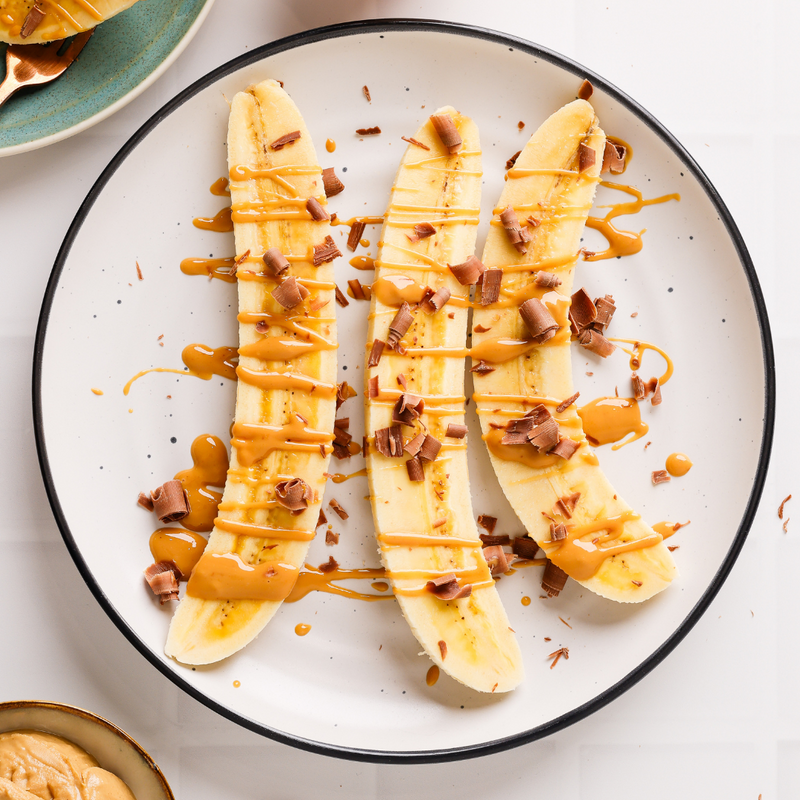
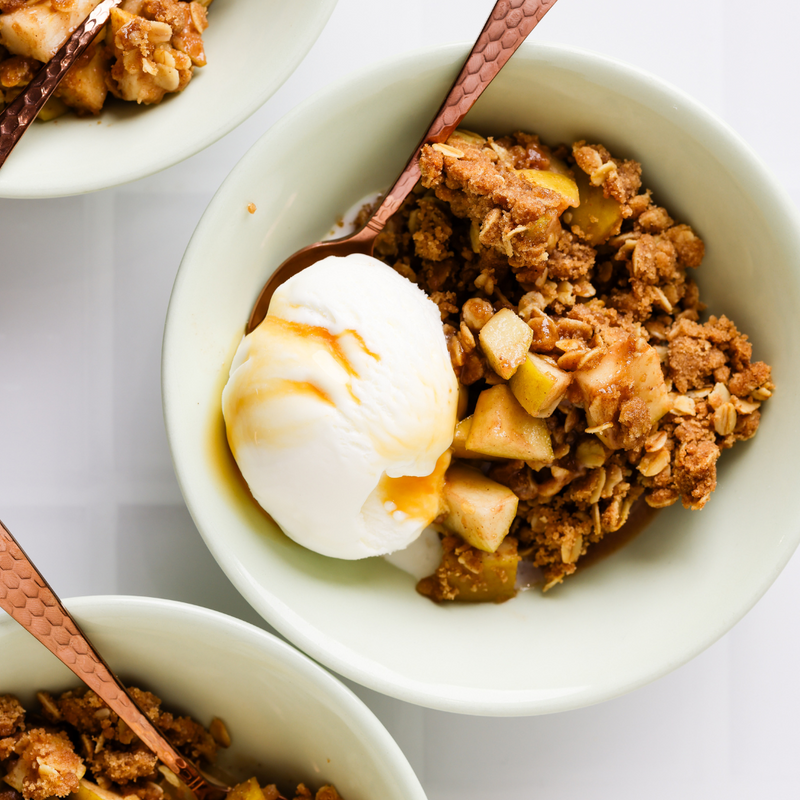
Props: Props are essential to making a photo amazing! I LOVE plates, bowls, old cutlery and tea towels! You don’t need to spend a great deal to get the most amazing props…I went to my local thrift store and you’d be surprised what some people throw out. Cutlery, bowls, plates and more.. Yes I have become a little bit of a hoarder, but hey it's all for a good cause right?! It’s always great to have a range of colours, styles and material so each photo can be different. As you can see, in the right photo I used a matte pottery plate with red chopsticks (both found at thrift stores!). Always use something in the photo, whether is a fork, tea towel, spoon, knife…whatever! Give some life to the meal.
Your own style: It’s taken me forever to properly get a “style”. This should come NATURALLY. If I try to style, shoot or create recipes like somebody else…it always turns out terrible. My style is rough, raw, bright colours and bright lighting. Each photo is different but I always stay true to my style. I throw ingredients all over the board and LOVE the mess… but if you like a more “tidy and bright” look, then you’ll need to be a little more careful where you place things.
Tips:
Water and oil trick: If your styling your food for a while and it’s looking a little dry…grab a small spray bottle and fill half water, half oil (this should be a TINY bottle) and spray away! This will bring life back into the food and leave it looking succulent and juicy!
Use a tripod: Once having used a tripod to shoot…I wondered why I ever did it freehand! So easy, cleaner shots, you can style around the shot and have everything in place for one click….and also there is no crazy bending/moving for you to get the shot. Google "crane tripod" and it'll come up with an adjustable tripod, perfect for overhead shots.
Camera/editing programs:
I shoot with a DSLR camera, and have just recently upgraded. I used to have a Canon 600D and it was perfect for a beginner to start. I now use a Canon 80D with a 24-70mm lens which produces incredibly crisp shots…but isn’t necessary if you’re starting out as it can be very pricey due to the lens. iPhones are also great – but hard to shoot on tripods.
The editing program I use for my videos is “final cut pro” which is a step up from Imovie. This is a paid program where you can edit colours etc.… but for a beginner I would recommend I movie…Cheap and easy to learn! For images, I use Lightroom and I SWEAR by it! I pay for this monthly, and I use it every single day. There are many things you can do to your photos and I just LOVE it so much, couldn’t recommend it any more!
I hope this helps transform your food photography skills like it did mine, as I mentioned earlier, I am no professional.. but I am learning and I hope these tips/hacks point you in the right direction.
Love, Leah x